How to Make a Handmade Enamel Mug
Making a handmade enamel mug is a rewarding DIY project that allows you to create a unique and personalized item. Here's a step - by - step guide:
Materials Needed
- Metal Cup Blank: You can find plain metal cups made of steel or iron at a hardware store or a specialized DIY supply shop. Make sure it's clean and free of any coatings or contaminants.
- Enamel Powder or Liquid Enamel: There are various types of enamel available, such as transparent, colored, or opaque. Choose the enamel according to your desired final look.
- Protective Gear: Gloves, safety glasses, and a dust mask to protect yourself during the process.
- Heat Source: A kiln is the most common and recommended heat source for firing enamel. If you don't have a kiln, a high - temperature torch can also be used, but it requires more skill and caution.
- Brushes or Applicators: For applying liquid enamel. If using enamel powder, you may need a sifter.
- Container for Mixing (if using liquid enamel): A small, clean container to mix the enamel with any necessary solvents or additives.
Step - by - Step Process
Prepare the Metal Cup
- Wash the metal cup thoroughly with soap and water to remove any dirt, oil, or grease. Dry it completely. You can also use a degreaser for a more thorough clean if needed.
- Sand the surface of the cup lightly with fine - grit sandpaper. This helps the enamel adhere better to the metal. Wipe away any dust created by sanding.
Prepare the Enamel
- For Enamel Powder: If you are using enamel powder, sift it into a clean container to remove any lumps. You can also add a small amount of a binder (if required by the enamel product) to help the powder stick to the metal.
- For Liquid Enamel: Pour the liquid enamel into a clean container. If it's too thick, you may need to add a small amount of the recommended solvent according to the product instructions and stir well.
Apply the Enamel
- Using a Brush: If using liquid enamel, dip a clean brush into the enamel and apply it evenly to the surface of the cup. Start from the bottom and work your way up, making sure to cover all areas smoothly. You can apply multiple thin coats for better coverage and a more even finish. Let each coat dry slightly before applying the next one.
- Using a Sifter (for powder): If using enamel powder, place the cup on a heat - resistant surface. Hold the sifter about 1 - 2 inches above the cup and gently sift the powder onto the surface. Try to distribute the powder as evenly as possible.
Dry the Enamel (if necessary)
- If you applied liquid enamel, let it air - dry for the recommended time specified on the product label. This can usually take anywhere from a few minutes to an hour, depending on the type of enamel and the thickness of the coat.
Fire the Enamel
- Using a Kiln: Place the enamel - coated cup inside the kiln. Set the kiln to the appropriate temperature according to the enamel manufacturer's instructions. This is typically around 800 - 900°C (1472 - 1652°F). The firing time also varies but is usually around 5 - 15 minutes. Once the firing time is complete, turn off the kiln and let the cup cool down slowly inside the kiln. This slow cooling helps prevent the enamel from cracking.
- Using a Torch: If using a torch, hold the torch about 3 - 4 inches away from the cup and move it in a circular motion evenly over the enamel - coated surface. Keep an eye on the enamel as it heats up. It will start to change color and become glossy when it's properly fired. Be very careful not to overheat any one area, as this can cause the enamel to bubble or crack.
Inspect and Finish
- Once the cup is completely cooled, inspect the enamel surface. Look for any bubbles, cracks, or uneven areas. If there are minor imperfections, you can sand them gently with very fine - grit sandpaper and re - apply a small amount of enamel and fire it again.
- You can also add additional decorations such as decals, hand - painted designs using enamel - compatible paints, or a clear top - coat of enamel for extra durability and shine.
Here are some pictures to illustrate the process:
Preparing the metal cup
A picture of a clean metal cup being sanded to prepare for enamel application
Applying liquid enamel with a brush
A hand holding a brush and applying liquid enamel to the metal cup
The cup inside a kiln
The enamel - coated cup placed inside a kiln, ready to be fired
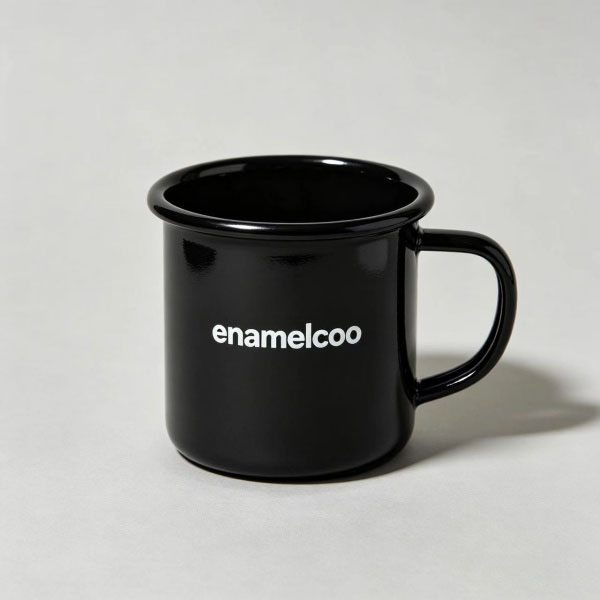
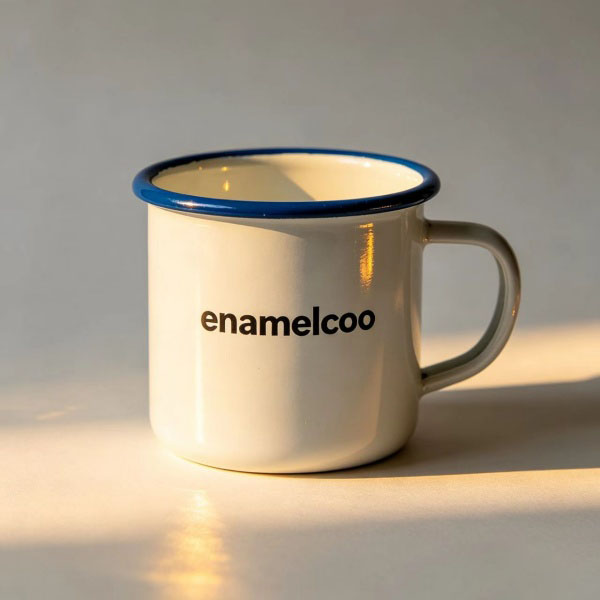
The finished enamel mug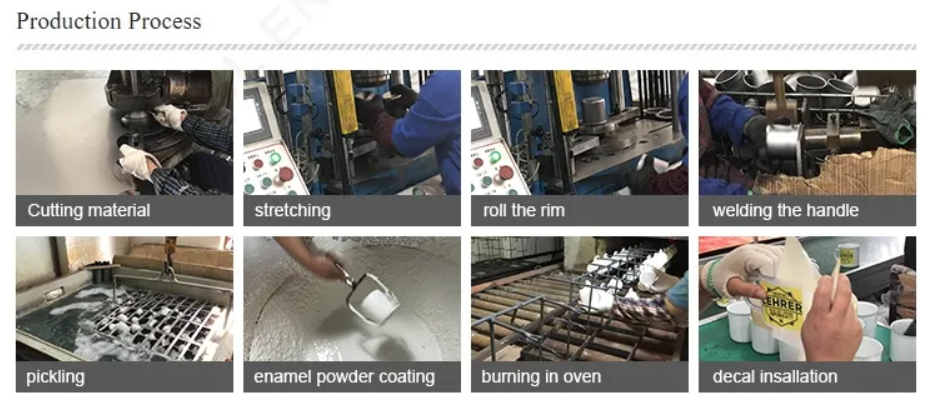
A beautiful, shiny enamel mug with a smooth and colorful enamel surface